LaunchBox is an amazing free game launcher and organiser. (Get LaunchBox here) It takes some configuration, but you’ll be able to browse and launch all the (retro)games you’ve collected throughout the years from one location, enriched with vast amounts of metadata, images and even videos!

How to set-up LaunchBox?
LaunchBox works like this: It needs to know which emulators you are using and where they are stored, then it needs to know where your games are located.
The interface is overwhelming and maybe confusing at first, but there are 4 simple ground rules you should follow:
- Install and first-run/prepare your emulator(s)
Launchbox will not configure your emulators, so you still need to test and configure the emulator first. They often need some initial configuration for controllers, screen resolution… or lack files like a bios or firmware you need to add first. Just make sure it can run the roms you want it to run.
Also, I strongly advise you to collect all emulators in the \LaunchBox\Emulators\[emulator name] directory. For portability and to keep things neat. - Add your favorite emulator(s)
In LaunchBox, With – Tools > Manage > Emulators. Just select the emulator from the dropdown and then navigate to the executable. Launchbox will do the rest. It will try to set specific launch parameters like ‘-fullscreen‘, ‘-nogui‘ or ‘-quiet‘ to give a clean boot sequence if the emulator supports it. - Add the games per console/platform
First of all: do NOT dump all game-roms for multiple systems in a single directory, since this will cause headaches later on.
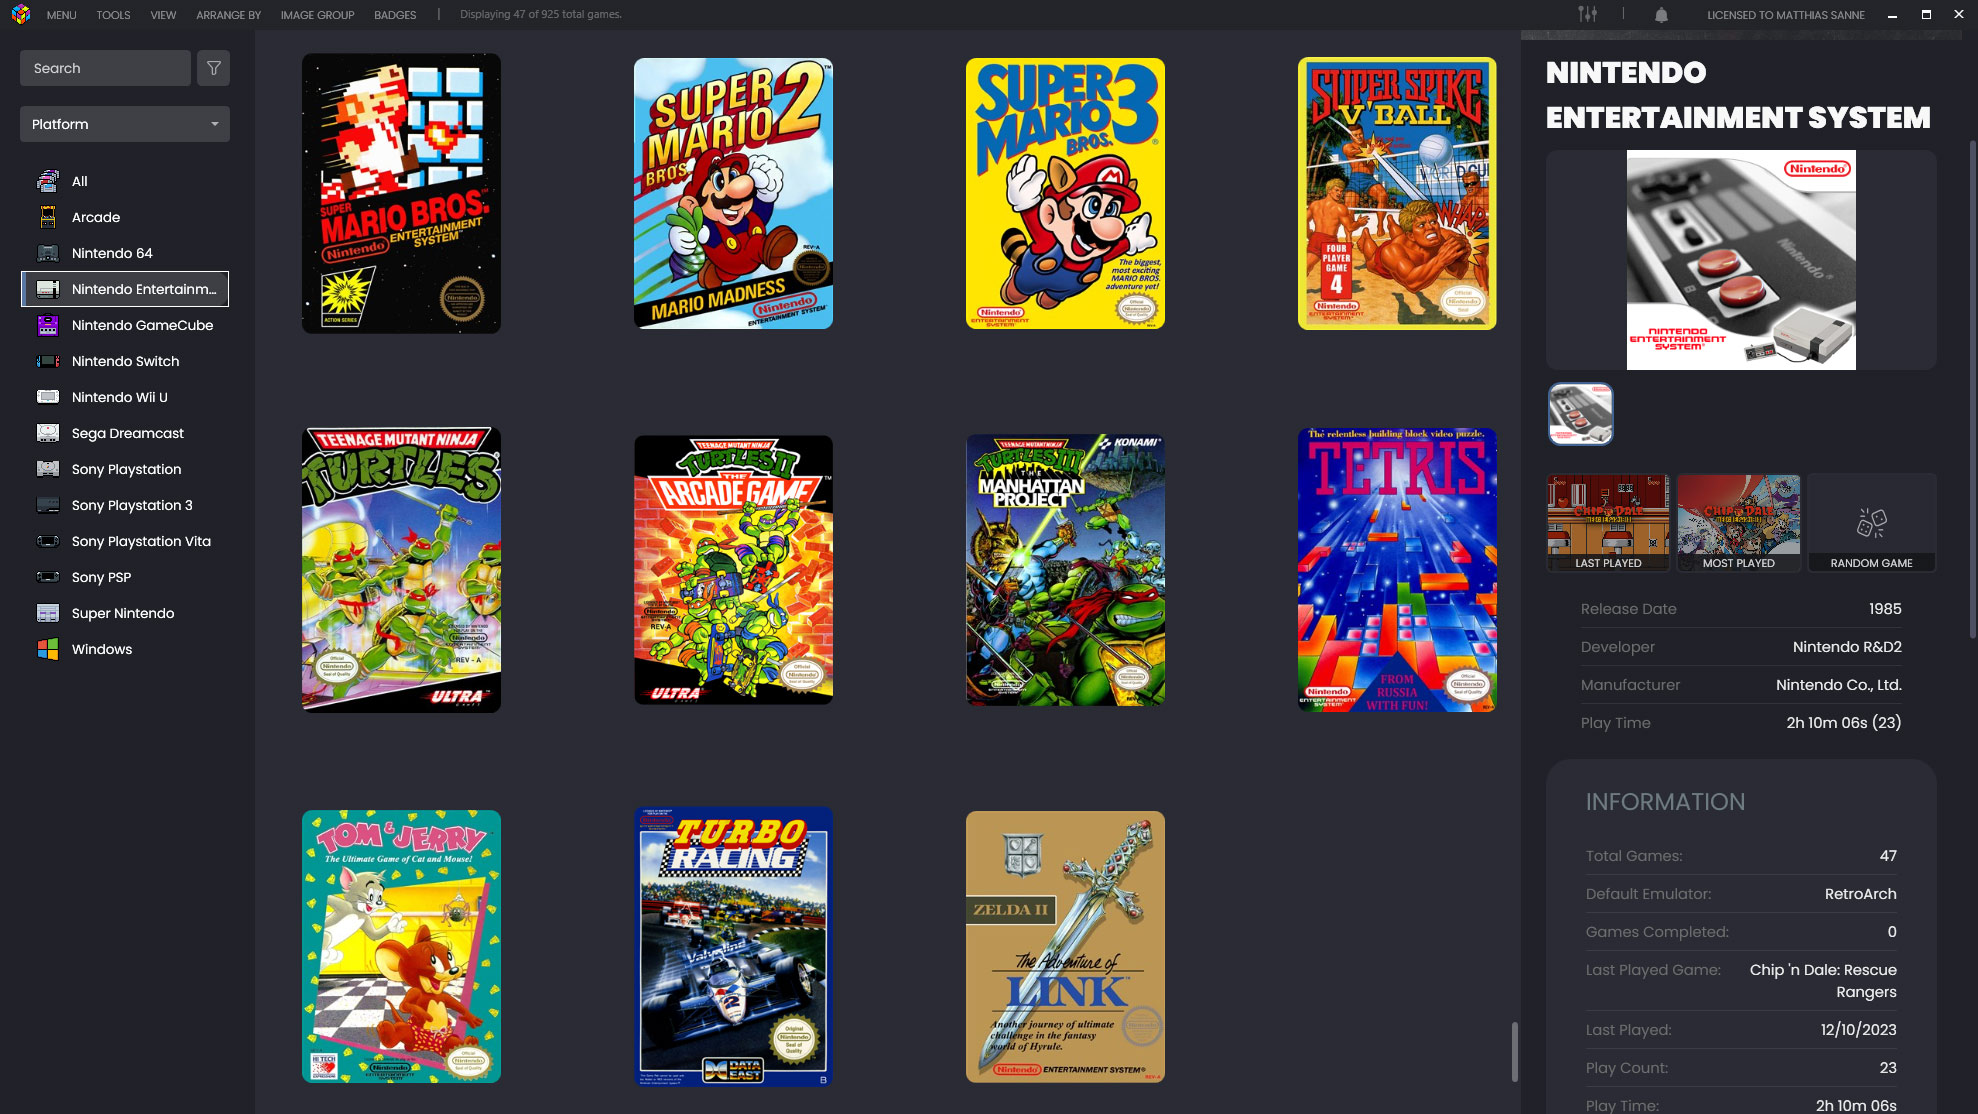
So collect the game-roms per console in a separate directory and import said individual directory with – Tools > Import > Rom Files. You can only import games for one console or platform at the time anyway and this way you’ll prevent accidentally importing games for a console that don’t belong there.
Finally, allow it to download and import all metadata and images for your games. - Clean up the console’s games/database
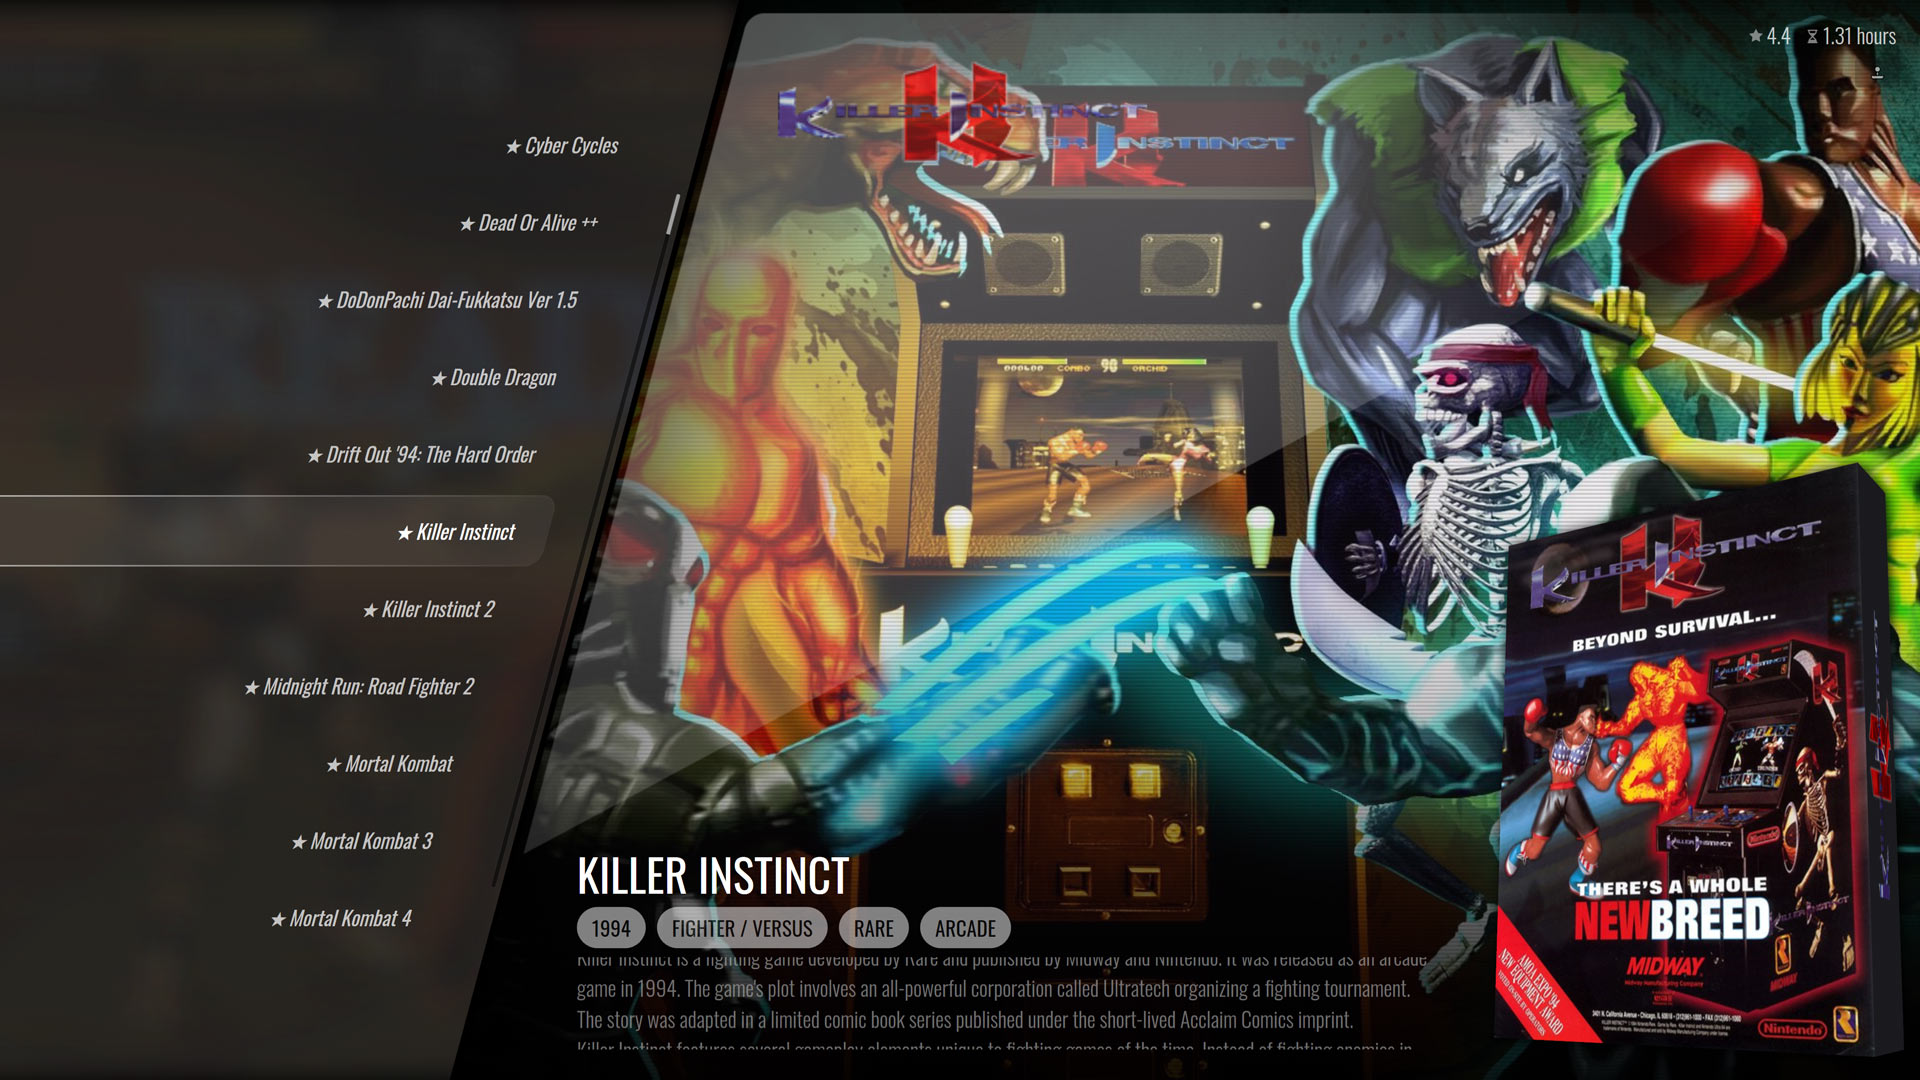
Now that you’ve imported your games for a platform, there may be some with wrong or missing images, or perhaps a wrong title.
You can always select and manually edit (ctrl + E) any game later on. The most important tabs you’ll need are always:- “Metadata”, where you need to fill out the title and try to match it with the database and all the information is filled out automatically)
- “Images” and the button ‘Download Media’ to get all the images automatically. If you have multiple ‘cover art’ images, and only one is to your liking, you can just delete the others. Or just upload your own.
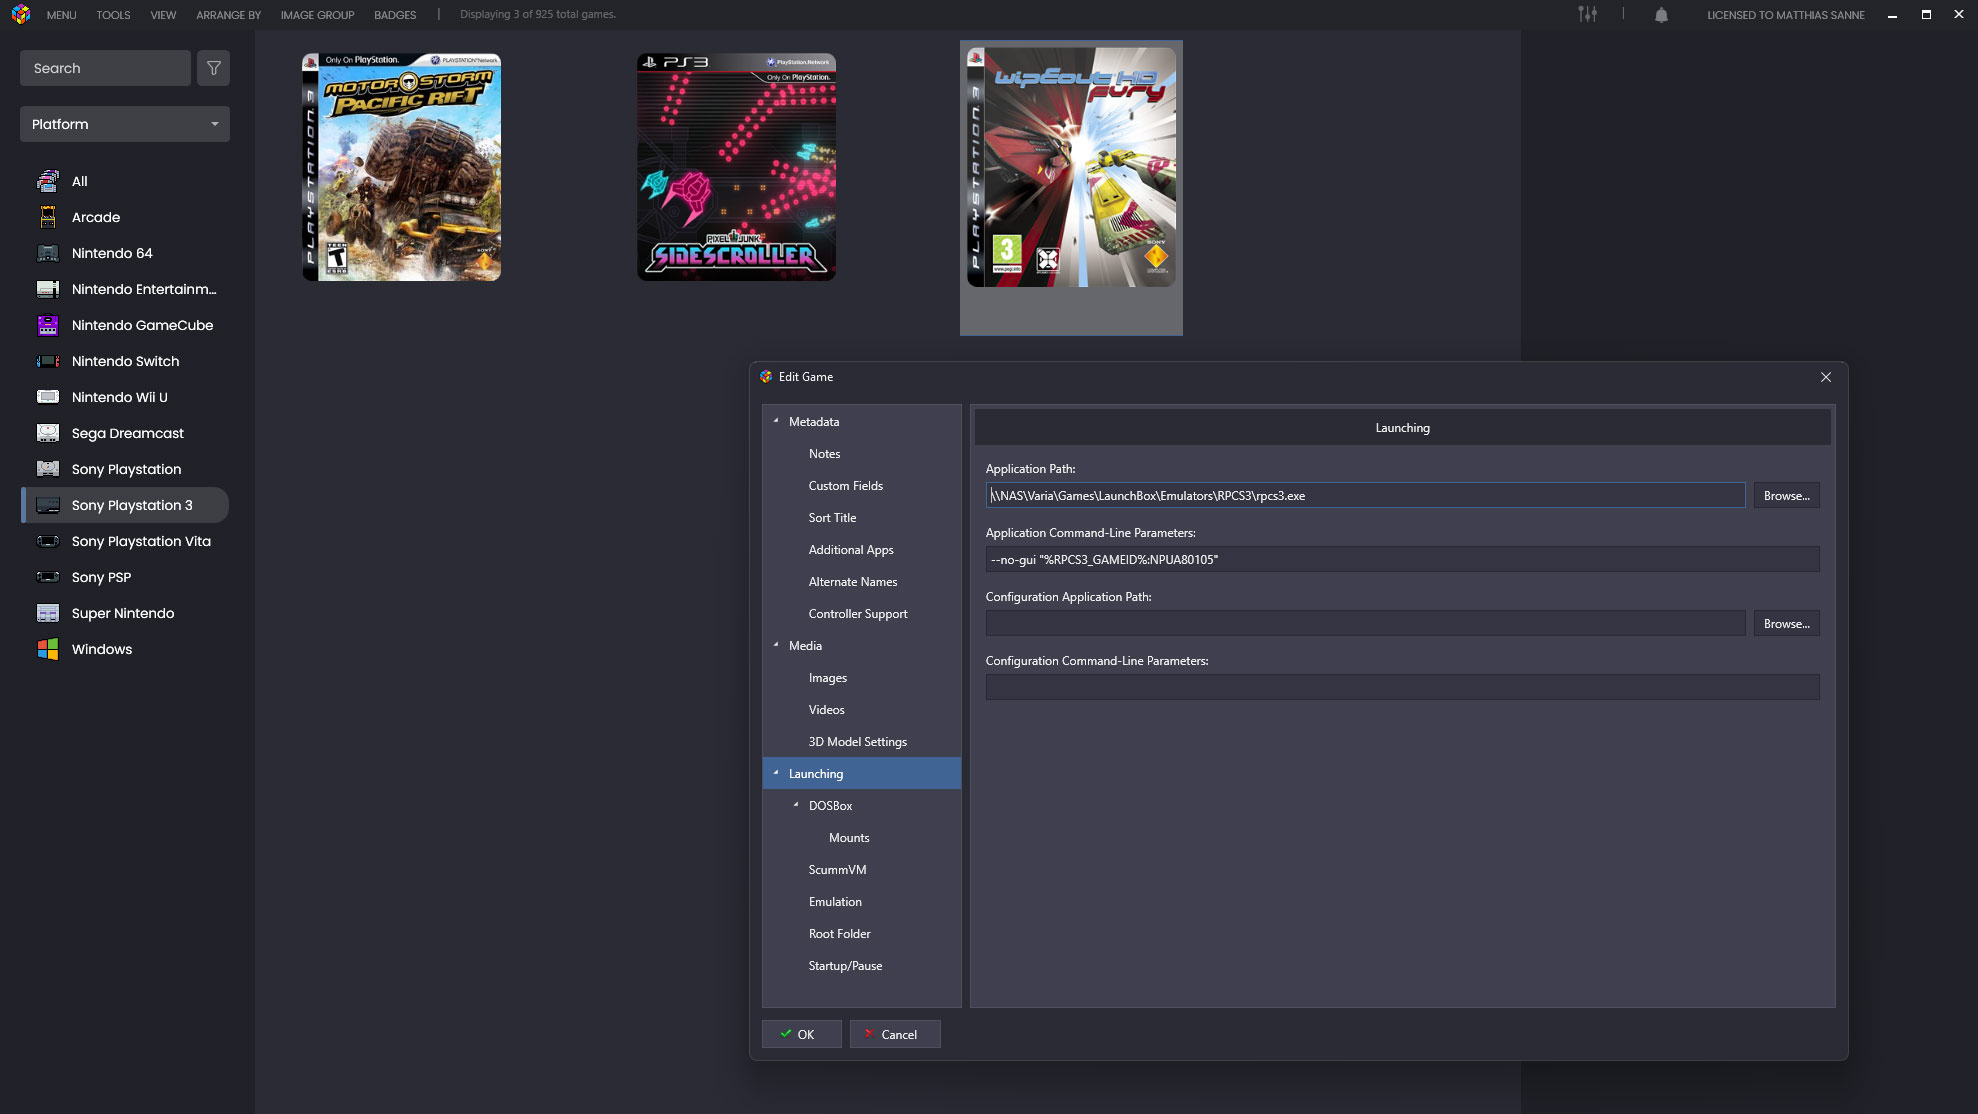
- “Launching”, where you can configure the path to the file or the right parameter for the emulator to launch the correct game. For example, a Playstation 3 game just launches rpcs3.exe but with a specific command line parameter
--no-gui "%RPCS3_GAMEID%:NPUA80105"(in this case it’s WipEout HD/Fury) - If you added extra roms after this process, you can scan for new roms with – Tools > Scan > ‘For added [console] ROMS’ and import new roms. Or you can just add them manually (go to the games list and right-click to ‘add new’, but this may be more tricky)
That’s basically it, you can move on to the next and repeat this process for every emulator and console.
LaunchBox tips & troubleshooting
- Don’t get greedy. Don’t add too many games that you won’t play any way. Keep the set clean, as it will make navigating and managing your games in Launchbox a much smoother experience. A lot of people (including me) make the mistake of adding the entire MAME set at once. But then you start off with a very messy and heavy database full of games that don’t work.
- Not all roms are easy to mount. For the more challenging ones (like the example of RPCS3), you can start with importing one or just a few game for a console before importing hundreds. After you managed to get one to work, the rest will be easier.
- If you run LaunchBox on a NAS
- and you want to add Windows Games: it will often add “file:\\\c:\…” to the path. Make sure to remove this if a game doesn’t launch.
- and you want to import roms from your local drive: Sometimes LaunchBox will crash. Make sure to add the roms after already placing them in \LaunchBox\Games\[Console name]
- Outside of LaunchBox, in the emulators themselves: you can sometimes go very far in customizing your experience. You can increase the resolution, add image effects like CRT-style effects or scanlines… even remap buttons on your controller to e.g. use the home button on your controller to instantly close the emulator…
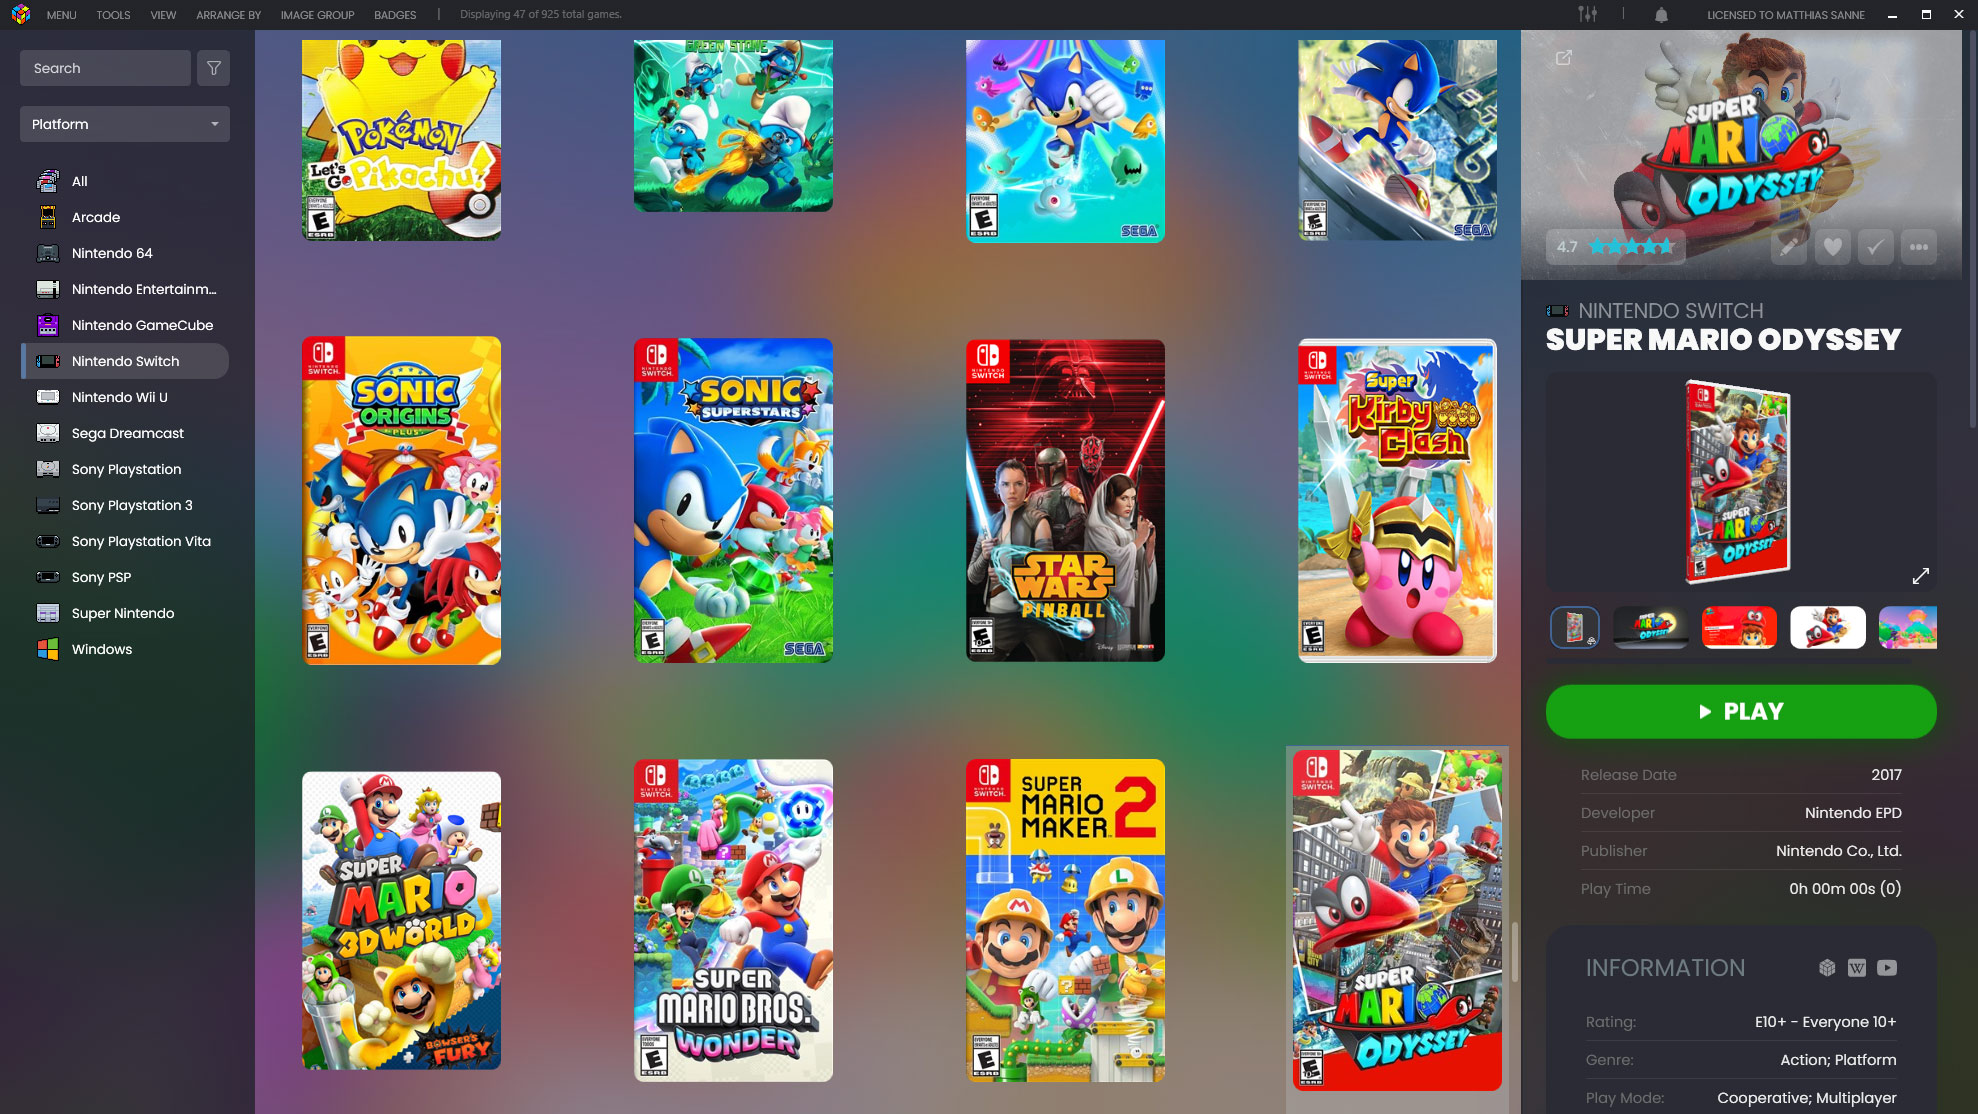
Go Premium with LaunchBox ‘BigBox’
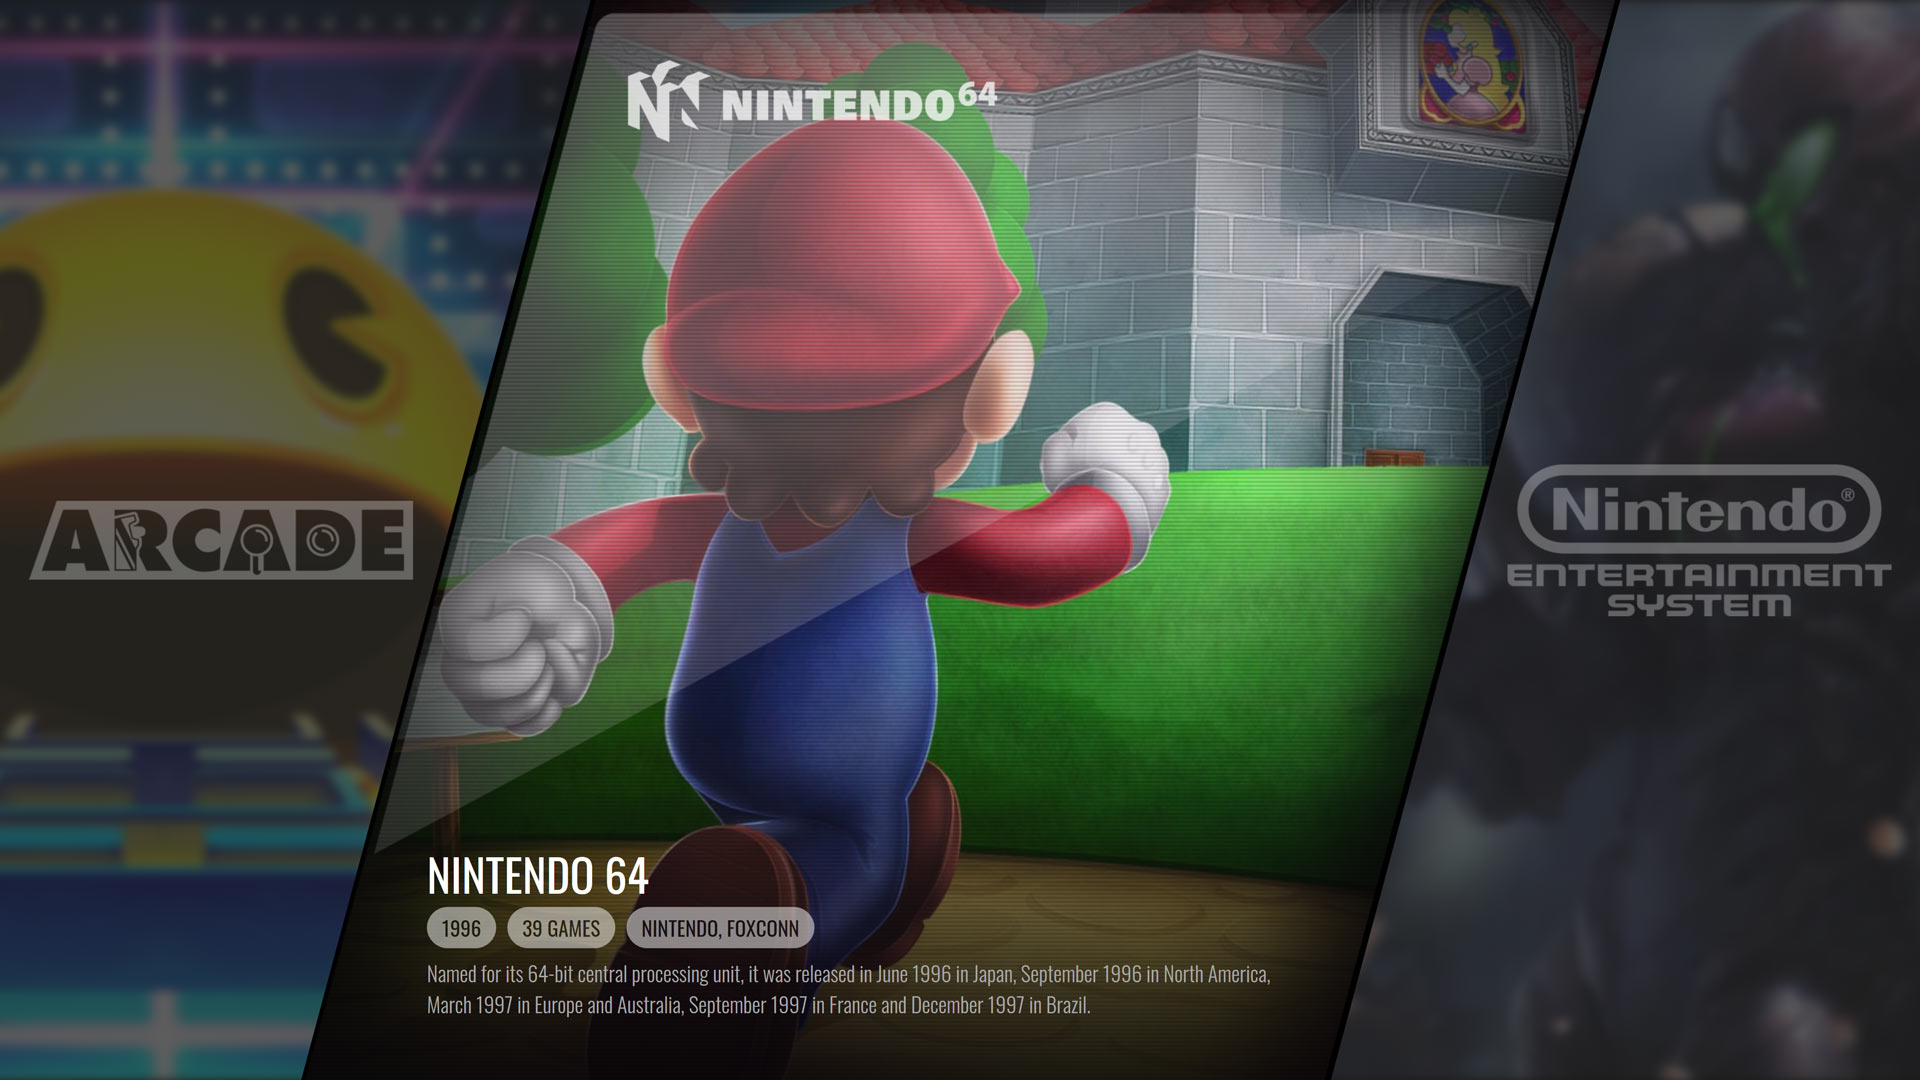
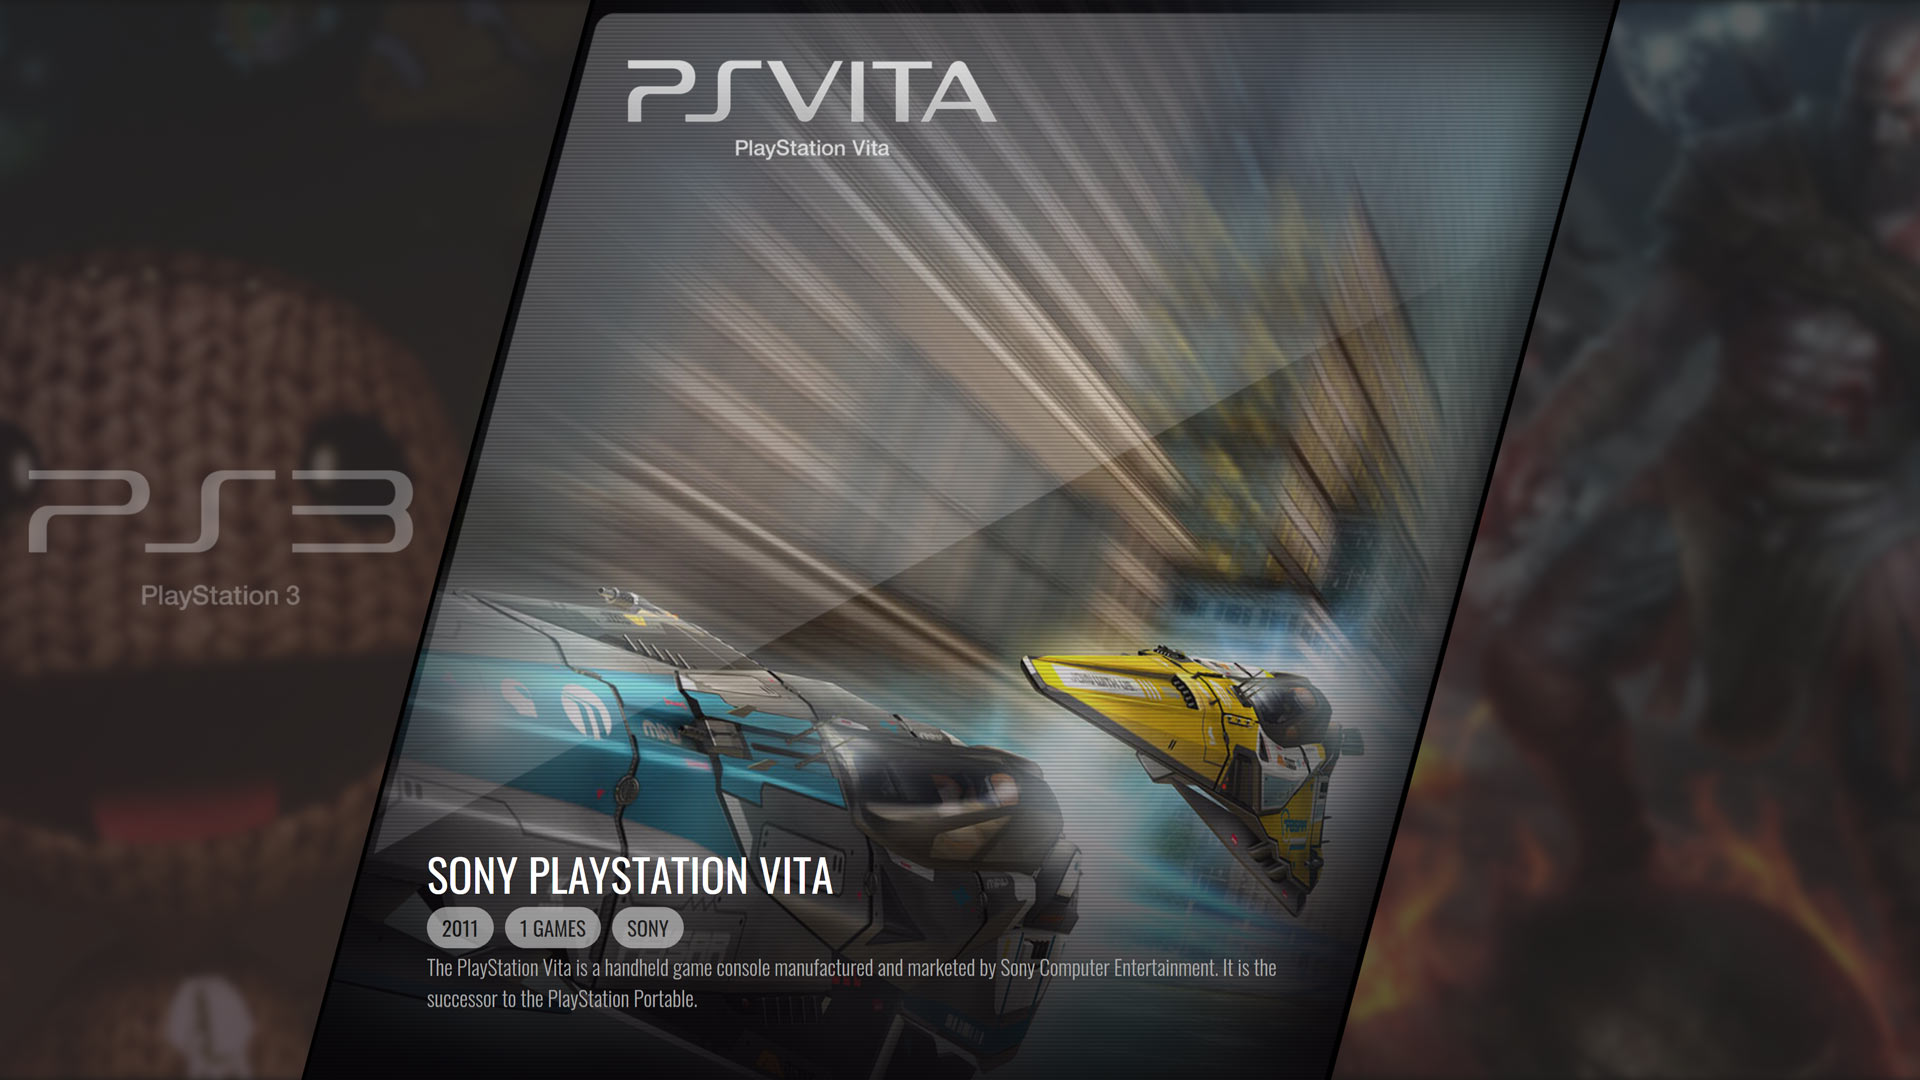
If you got the hang of it, and your LaunchBox set-up is reaching perfection, you can consider buying LaunchBox Premium with BigBox. It offers a bunch of extra features, but most importantly it adds skins over your LaunchBox installation, giving you a very polished, full-screen all-in-one experience. There are a bunch of themes to choose from.

I hope this guide helped! It will take some work, but it’s a very rewarding experience in the end.